
After last week’s still unbelievably successful ramp construction, it was time to move on to the next item on the monster truck party order: the box trucks. Mateo’s mom saw a couple of images online of kids wearing boxes that were decorated like cars (like this one and this one on Pinterest), and wanted something similar for the party. This was probably one of the things I knew would be easiest to make out of the whole order, but still time consuming. The hardest parts were 1. Figuring out what size to buy the boxes. The party guest list included kids 3-5 years old, so the boxes had to be small enough to not drown them, but big enough to let them in with room. 2. Finding solid colored wrapping paper is so hard! Everything has patterns or lines or flowers, but I needed something completely solid. After hitting up a few stores, I managed to find the six colors I was looking for.
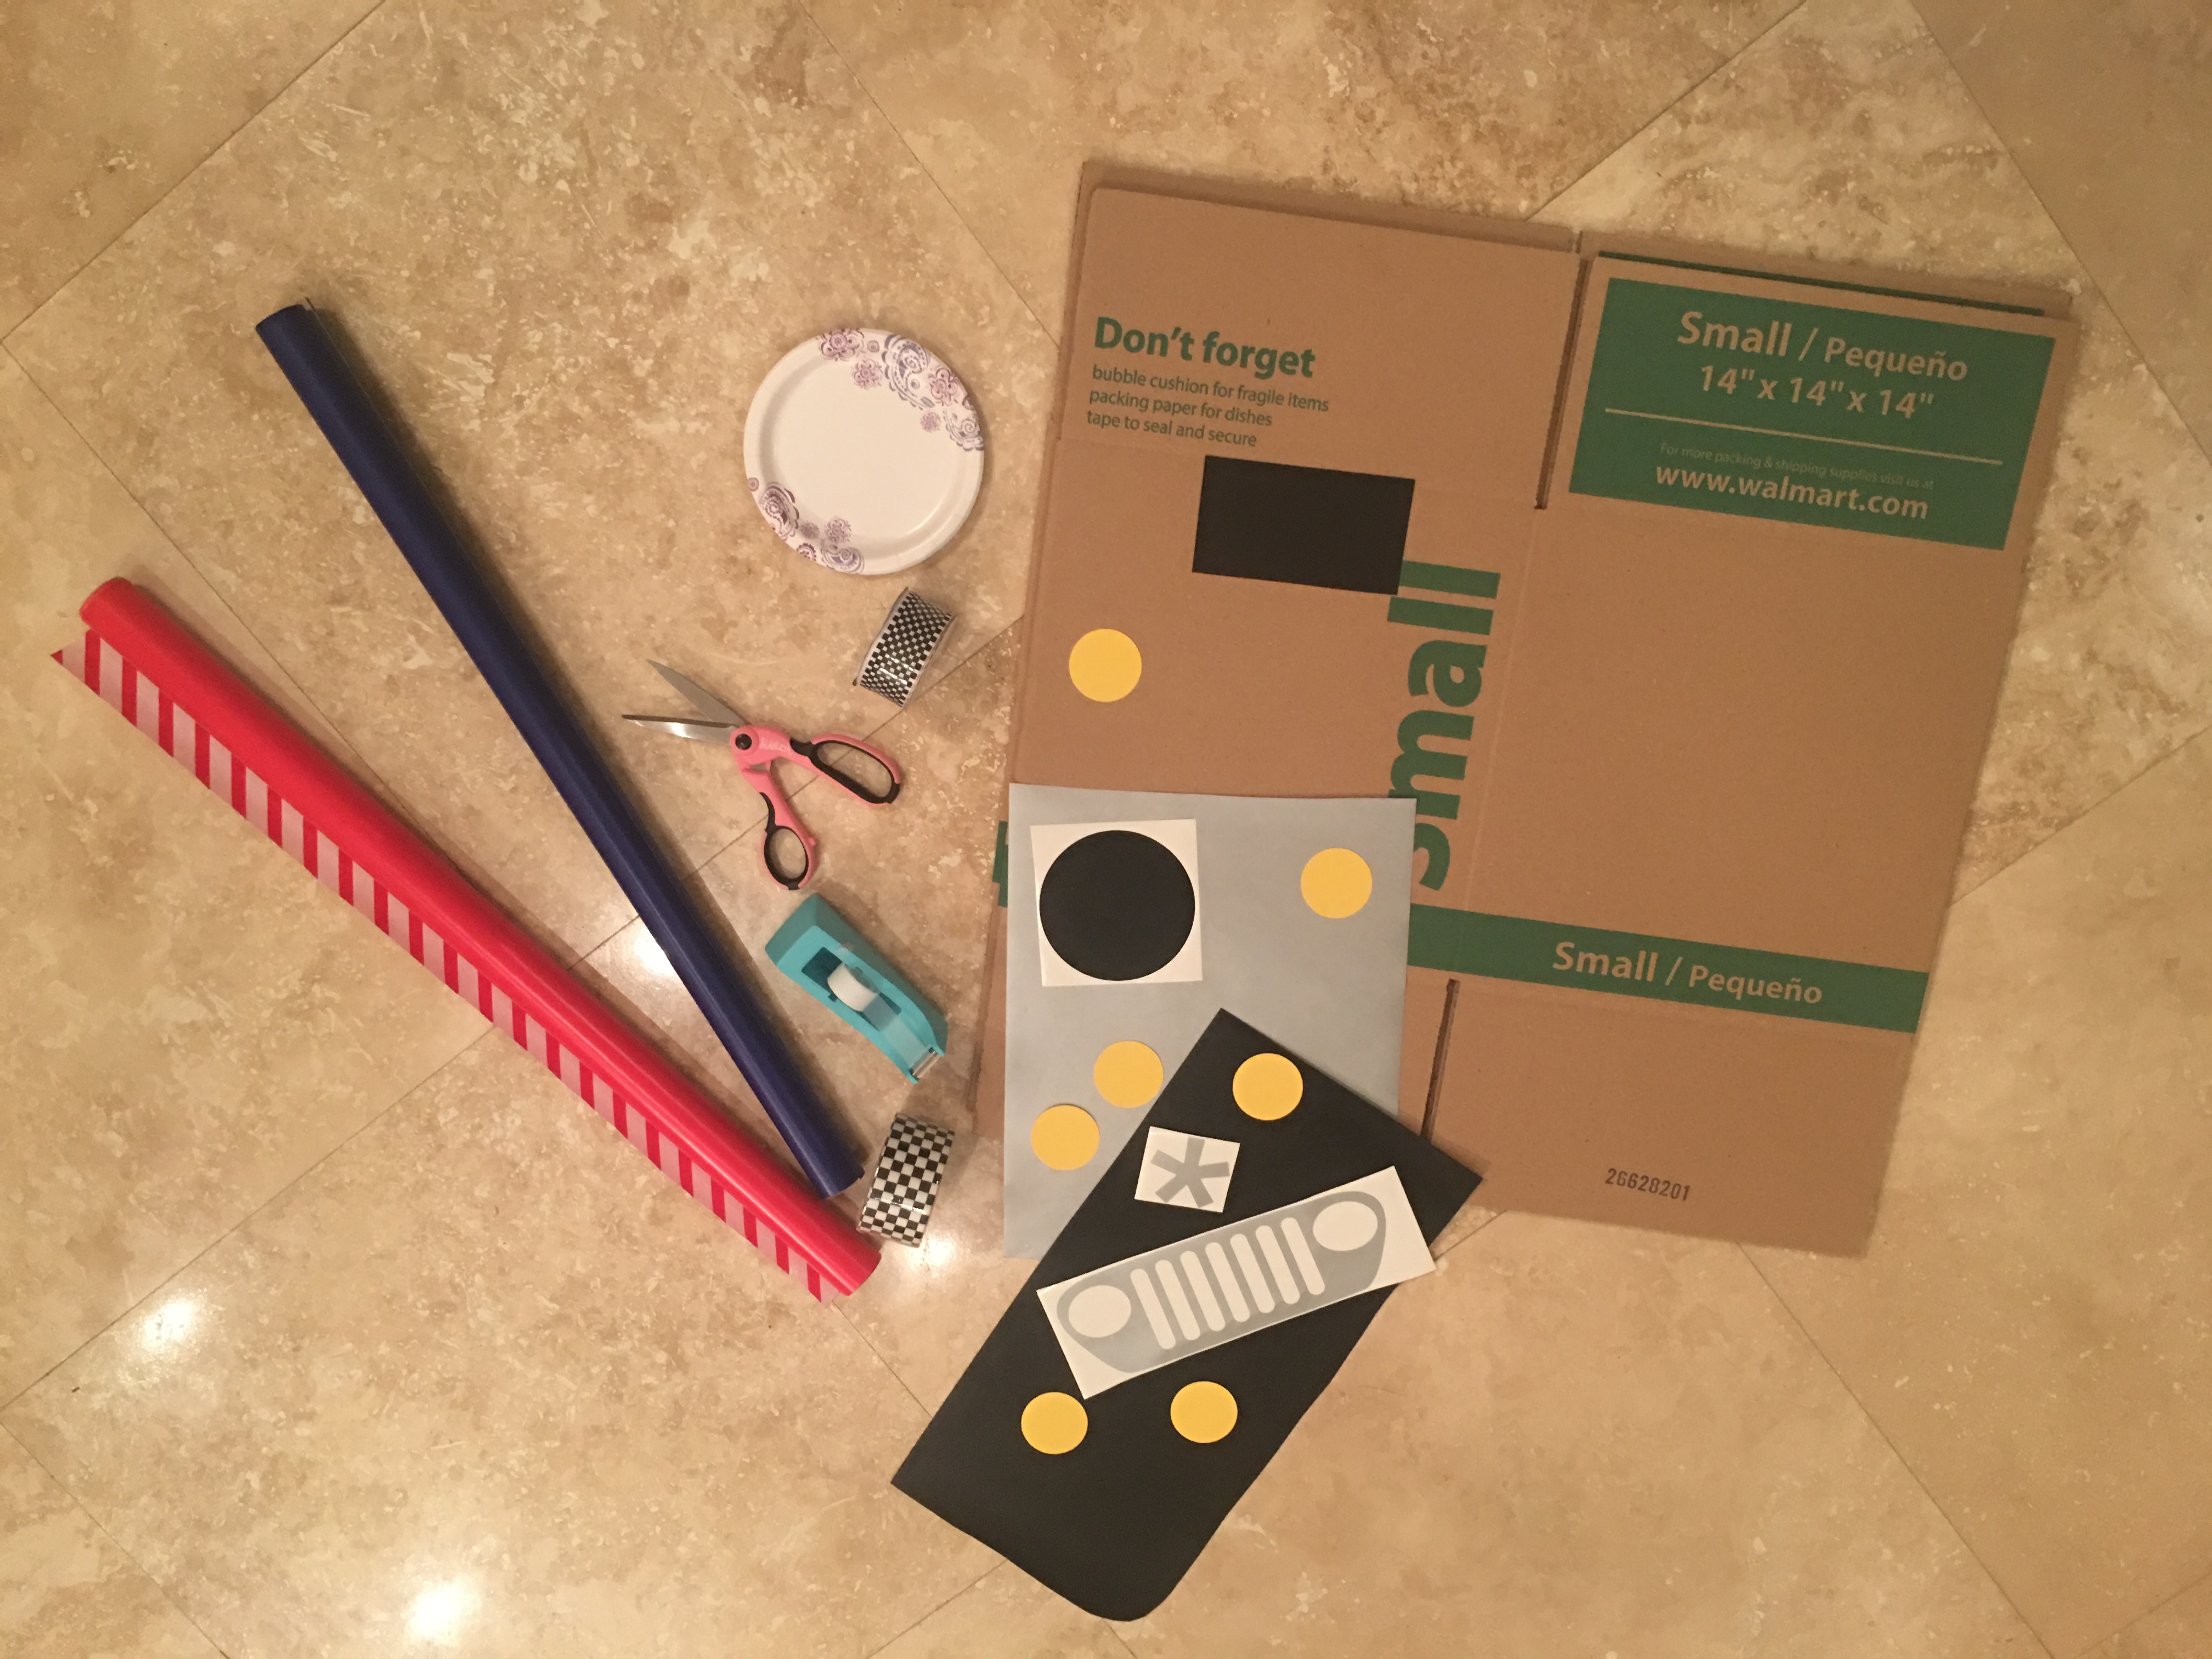
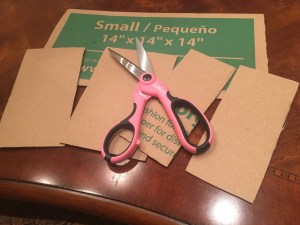
The list of materials for this project include: small box (got those at Walmart), wrapping paper, scissors (to cut the flaps off the boxes), tape (lots of it), a paper or plastic plate, contact paper, duct tape, ribbon, and whatever details you’d like to add to the car.
Now here’s an important step – since boxes come folded flat, it’s hard for them to stay squared/open once you wrap them. I used the flaps I cut off the boxes to create some sort of a “spring” that would keep the box squared with resistance (and more tape).

For the full craftutorial, watch this #CraftingWithKathy episode that *almost* didn’t happen but I decided to snap at the last possible moment, and even ended up bringing the “Pimp My Ride” franchise back to life…
Once I was done with them all, I thought my house looked like a car dealership. 😛 Stay tuned as I’m planning on bringing the big car prop to life next weekend!

Pingback: Riding Sturdy, Chapter 3: The Big Truck Prop | Work-Craft Balance
Pingback: Riding Sturdy: Grand Finale! | Work-Craft Balance