
For the third and final installment of this order (click here for the intro, part 1, and part 2)- the big truck prop/photo booth station for Mateo’s fourth birthday. The inspiration for this craft were this picture and this one too.
If I’m honest, when I initially got this order, I ranked the items in my head in the following categories and order:
Category A: How hard it will be to make – 1. Ramp, 2. Truck Prop, 3. Box Trucks
Category B: Which will be the biggest hit – 1. Ramp, 2. Box Trucks, 3. Truck Prop
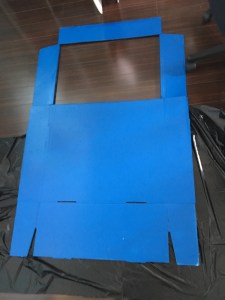
But I really didn’t think the truck prop would stump me so hard when it came to making it happen. When I tell people that the problem with creative work is that you need to be in the mood, this is one of the examples of how that can be such a big hurdle to overcome. I can stare at something for three weeks and not know what to do with it, and then an idea strikes and I get it done in no time. That was exactly the case with this truck prop. I thought I’d make this one in a much shorter time-frame and didn’t see the challenge until it was staring me dead in the face. I began by selecting my canvas, when… I LOVE when this happens: I was staring at some big boxes in my garage that I’d purchased forever ago and have used to deliver big local orders, and I said to myself – that’s the truck. I grabbed two of the boxes, stacked them together, cut out the blank space for pictures, spray painted them and BAM! Ready! Looking like a car already (at least in my head)…


But the problem was, after getting to this point, I stared at it for two weeks without knowing where to go next. I originally wanted to make the lower small flaps the wheels, and the center flap would be sort of a (I don’t know the right terminology here so I’ll quit while I’m ahead and just show a picture of what I imagined), but the design didn’t add up in my head. So I walked away and worked on the items I had for other orders, waiting for the idea to hit me. Finally, I decided to do away with my idea of the thing I can’t explain or name, and grabbed my scissors and made a cut.

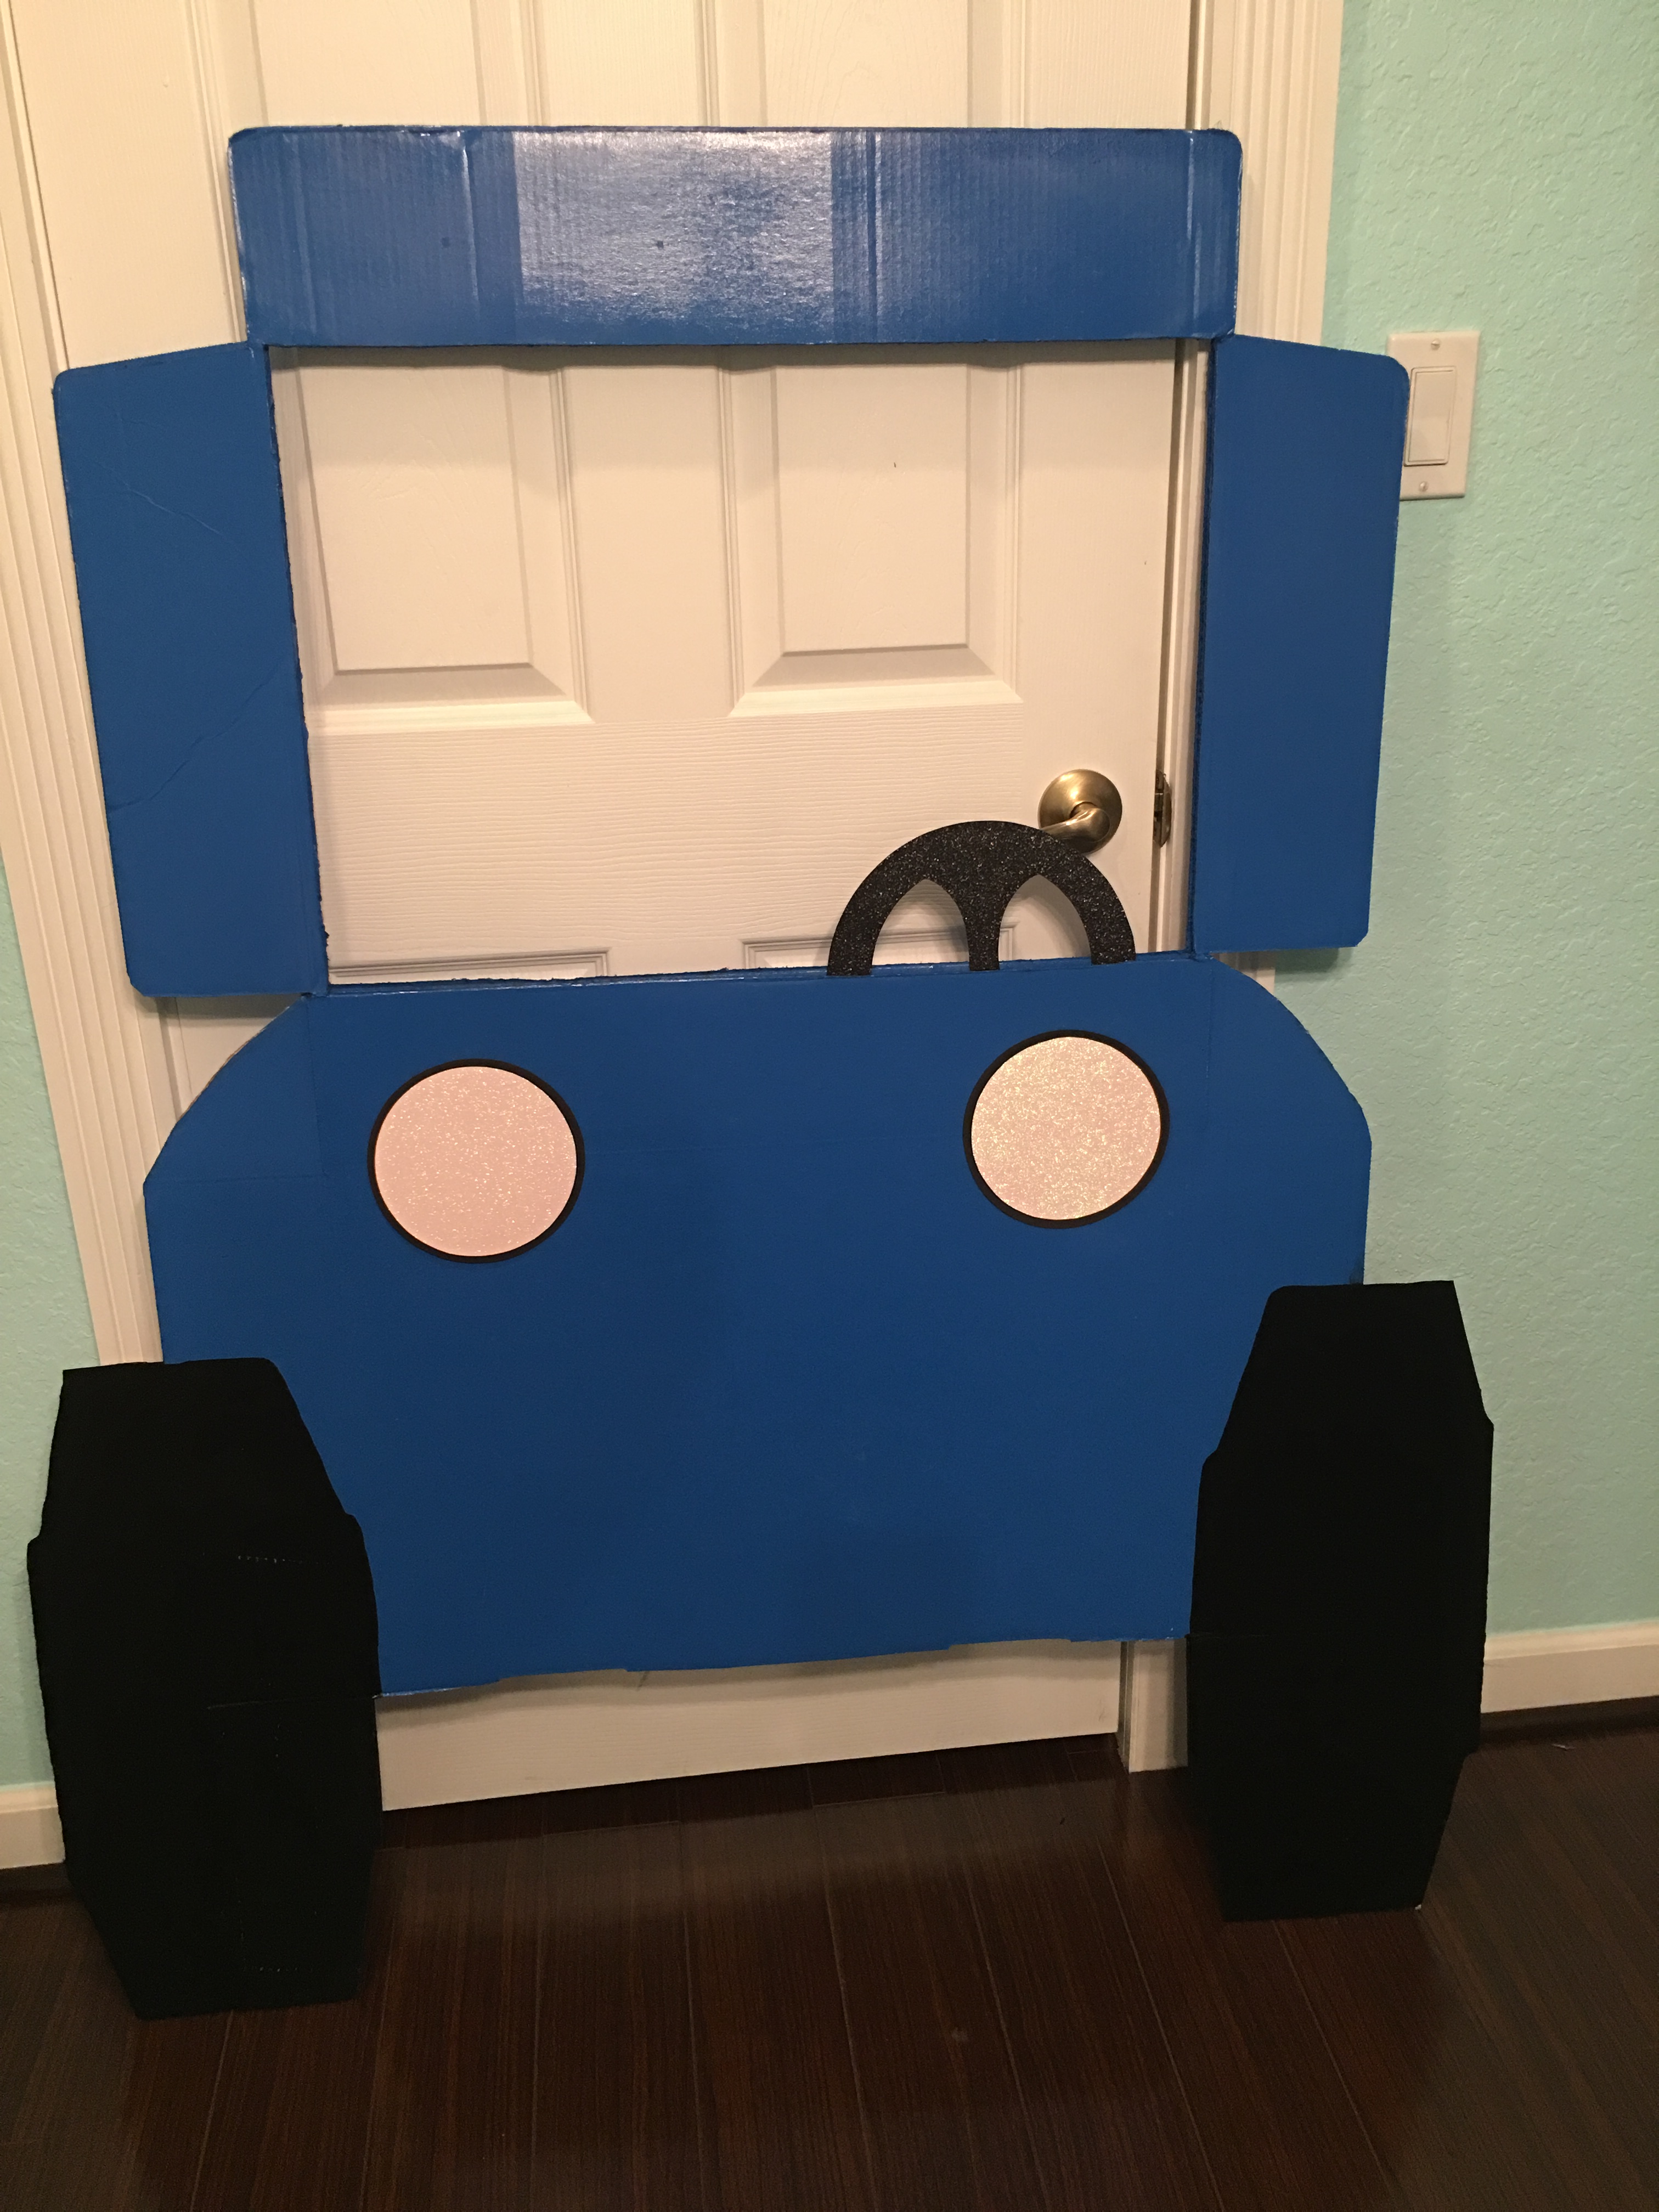
AHHHH! This was a big deal, but after I did that, I felt like I was going somewhere. Also, notice I rounded off the top part of what would be the hood of the car. Everything was making more sense now, but I was still unhappy with the vision, and I realized what the problem was all along – what’s the one thing that makes the monster truck, a monster truck? Besides the truck itself – the wheels. The way I’d originally envisioned this, I’d end up with some really small wheels and that’s why I kept resisting the process. It wouldn’t have come out right. Once I’d cut the middle flap of the bottom out though, the next move came – use the flaps to build the wheels outwardly. And so, the monster truck prop was officially born.

By this point as you can see, I’d also added my headlights and the top lights to help me envision the rest of the road. I got my black paint and brushes out, and voila! Also, I’d forgotten every car needs a steering wheel so, magic wand wave and –
Now we’re talking! How do you differentiate regular tires from big monster-truck type of wheels? The ridges! One moment please… POOF!

Ok now THAT is looking like a monster truck. I intended to add a grill of some sort (for which I’d bought the most perfect card stock and couldn’t wait to use it), but then came the last big hurdle: this needed to stand on its own. As you may have noticed in the inspiration pieces, those car props used stakes to stand in the grass, something that wouldn’t work in this scenario because the party would take place indoors. I needed something to make it stand. I had a few ideas from the beginning (sticks, wood springs, random things in my brain…) and then I realized the best thing to do would be to use a side panel from a tri-fold board, cut it diagonally, and build it into the back of the car. Basically, this –

OMG. It worked, and it worked SO WELL! The best part was that since it was all cardboard, it was completely lightweight and portable. I’m in love.
So now, all I needed was: final coat of paint, grill, and glue everything (all the lights were taped until I decided I liked the placement). Oh and wait… It’s too blue. It needs a pop of color… wait, I know!

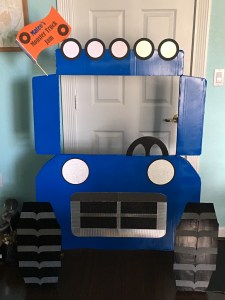
The level of satisfaction I felt when I saw this finished? Can’t explain. After three weeks of no action, I did the bulk of this in 12 hours during the weekend. Also – side note – I decided not to glue the flag because I wasn’t sure it would fit in the car when pick-up time came, and good thing I didn’t! The prop barely fit and the top lights had to be folded a little bit, but no biggie. As long as it fits, it’s all cardboard and card stock and can be folded back into place.
Thank you for checking out the third and final chapter of this Riding Sturdy order! I’ll do one more post with all of the final item pictures, a quick story of the pick-up and – if possible – snapshots of the items in use!
PS – my original ranking was so dead wrong. This was the hardest to bring from brain to life, and also made the biggest impression on almost everyone, both in social media and in person. You think you know, but you really never do…

Pingback: Riding Sturdy: Grand Finale! | Work-Craft Balance
Pingback: Big Props Need Love Too – 80s Gala Rockout m/>.<m/ | Work-Craft Balance